No More Heroes on Nintendo Wii
No More Heroes is a spazzy fighting/action game for the Wii in the vein of say Madworld. It leans very heavily on humor and style rather than any sort of innovative game play. The player’s task is to run around a largely empty open-world city collecting money so that they can pay for your next ranked assassination battle.
As far as the fighting goes, it’s really basic: target-lock an enemy, then mostly hit the A button, sometimes hit the B button, and occasionally dodge with the crosshair button. When your opponent is ready to explode into a shower of blood, swing the Wiimote. It’s not horrible, and is definitely not as frustrating as a Devil May Cry or Bayonetta game, but it is far from the pinnacle of gaming variety.
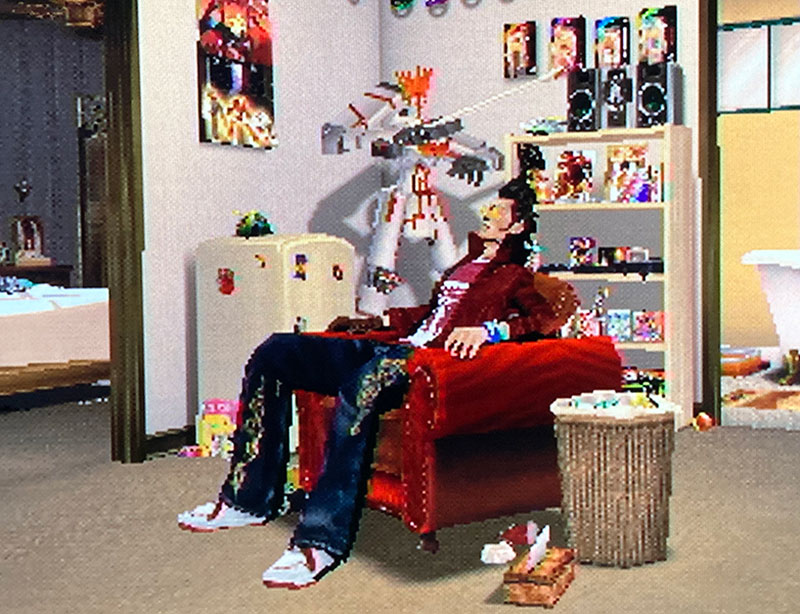
Where No More Heroes shines is in its self-aware plot and dialogue. Travis Touchdown may be a super-cool assassin, but his reality is mostly that of an Otaku fanboy with anime posters, toys, and a pet cat. The game goes to great lengths to point out how much of loser he really is by having him constantly get embarrassing calls from the video rental store and making his home base a crappy motel room. This stuff is great. I only wish the fighting was a little more fun or the world more interesting to explore.